


If you are interested in Cosplay Costume, I strong suggest you with this online Cosplay Shop website: http://www.cosjj.com/
Usually I am pretty good at planning for Halloween, it being my favorite holiday, but on occasion I have to throw something together last minute. This was the case last year when I took an extra face-mask I had hanging around to make a quick costume! By re-using things around the house this project is cheap and easy on the environment. The skill level required is low, ranging from kindergartner with marker to amateur seamstress/tailor and the final product is a cute and comfortable Halloween mask.
Step 1: Gather Materials

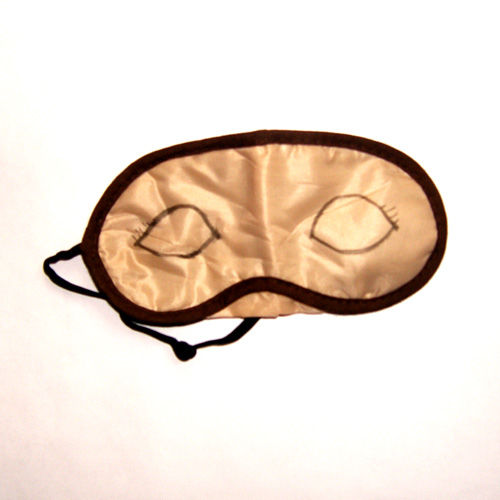
Eye-mask: The ones for traveling are the kind I have in mind - there always seems to be one somewhere in the back of a cupboard that came from some international flight's complimentary toiletry bag.
Permanent markers are ideal if you plan on drawing, but all I had to use was the cheapest quality water-soluble kind, and my mask still came out all right. No matter what there will probably be a little bit of bleeding around the edges, so don't try to draw anything too detailed.
Material Scraps of any kind will work, depending on what you want to make. Nylon is especially useful for eye-masks
Step 2: Drawn Face Mask

Example Dog Face-mask:
I took a black face-mask that was laying around and flipped it over to make a white surface for this one. A cheaper, disposable paper mask would probably work better with markers than my cloth one did, but cloth is what I had. Next I looked at pictures of dog snouts online and practiced drawing them until I got a desirable picture to put on the mask. Afterward I used my ridiculously bleeding markers to draw my pattern on the fabric. Because the markers bled, it gave the mask a fuzzy look, which is actually appropriate for a dog's face, but the teeth didn't come out very well. In order to make the fang's more pronounced, I went over them with white out, which seemed to do the trick.
Step 3: Drawn Eye-Mask

The eye-mask pictured below isn't as interesting as it could be because I made it to match the dog face-mask. If you don't have a face-mask to match it with you could come up with something much more creative, especially if you are handy with a marker.
Step 4: Sewn Face-Mask


Once you gather the right colors you just need to cut them in the shapes you want, layer them in the correct order and sew them on to the mask. If you are working with felt-like material you might even be able to use a hot glue gun, which would be especially useful for detailed areas like teeth. **If you use glue make sure it is clear colored and try it out on some of the scraps to make sure it holds before using it on your mask!
Example Shark Face-mask:
For the shark's face I cut the t-shirt into two strips that matched the length of my face-mask, then I cut jagged little notches along the length of one side of each of the two strips. Then I pinned the teeth onto the black face-mask.
Next I cut a piece of grey material to match the shape of the entire face-mask, adding a 1/4 inch extra space along the edges. I cut this piece in half to form the upper and lower jaws and placed the grey material over the mask. As I removed the pins holding the teeth in place, I folded and pinned the grey material along the edges and around the teeth, making sure plenty of the teeth were showing. Sew along all of the edges and your mask is complete!
Step 5: Sewn Eye-Mask


First I lined up all of my materials, including a gray piece of fabric, a piece of black nylons and the eye-mask, and cut them leaving about half an inch around the edges of the eye-mask.
Once I had all the material properly sized, I figured out where the eye holes should go by putting the mask on, feeling where the center of my eyes were and marking those two spots. I then drew circles around those marks (if you want round circles I suggest finding something round to trace) and cut the material within the circles out of the eye-mask. After cutting out the eye holes I placed the face mask flat over the gray material and traced the outlines of the holes and cut a cross shape into the circles of the gray material.
***Cut your outer eye-hole a little smaller than the one in the eye mask because the outer material will stretch to make a bigger opening when you are sewing.***
Lining up the three layers and pinning them together is both important and tricky. It is easiest to sew the nylon into place before you pin the outer material on. With the nylon material already sewn in-between, try to make sure your outer eye holes match up with the eye holes of the eye-mask by feel. Next I tucked the edges under and pinned all the layers together. After securely pinning around all of the edges I sewed the border with about 1/2 inch away from the edge.
Hopefully your eye holes line up at least somewhat, mine weren't perfect, but it wasn't too big of a deal. Regardless, I pinned each of the four flaps of the gray eye hole under the gray fabric to make the outter eye holes. Take special care when sewing the eye holes to get really close the edge of the gray material, but not to miss it.
This is where I stopped to complete my shark/monster costume, but I would encourage people to add whatever else to their mask as they see fit!
Follow me on
没有评论:
发表评论